How to Optimize Your Google Business Profile for Real Estate in 30 Minutes
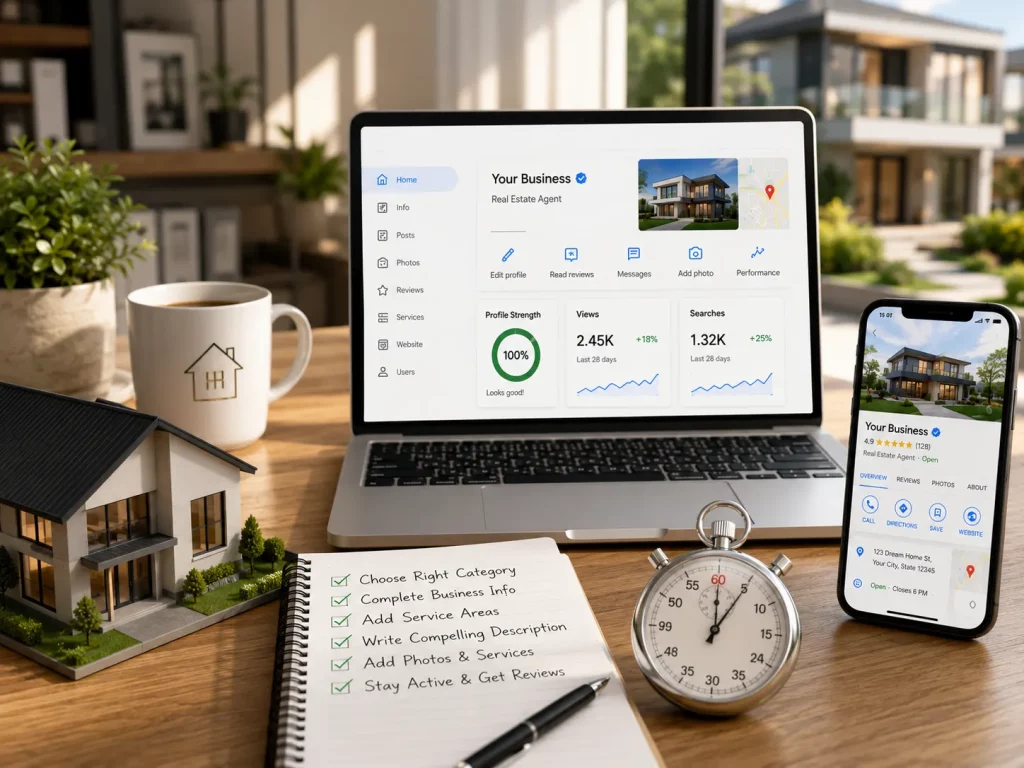
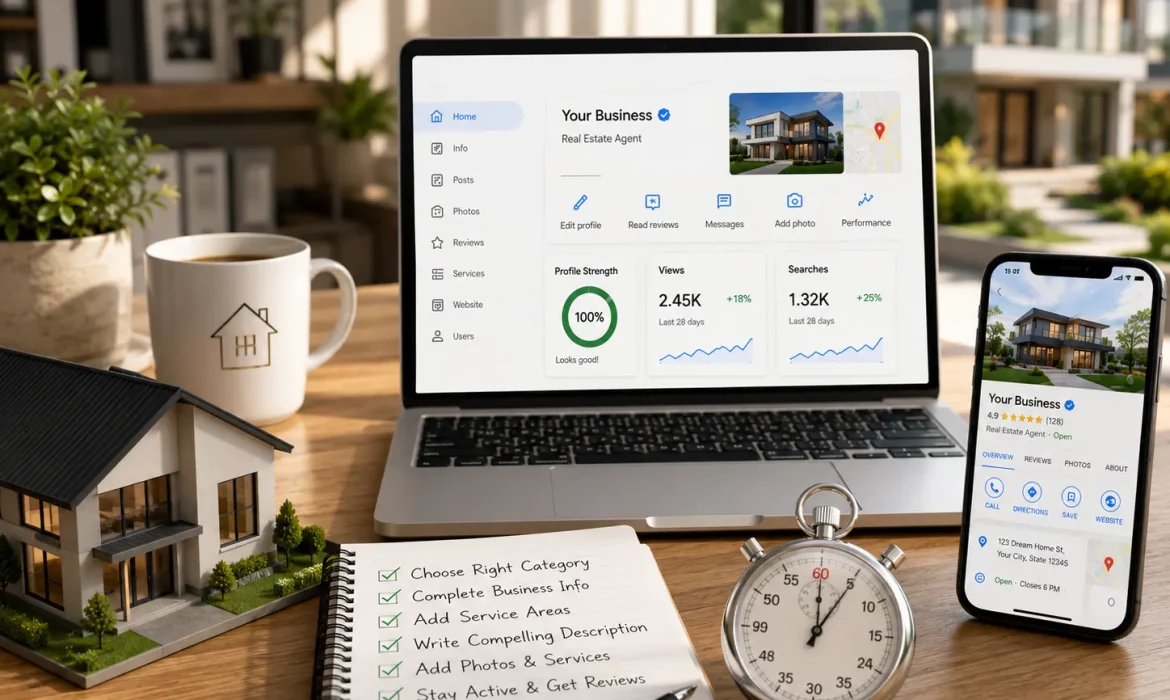
You can optimize the foundation of your Google Business Profile for real estate in about 30 minutes by completing the essential setup steps, choosing the right business category, adding your service areas, writing a compelling business description, and uploading quality photos. These improvements help Google understand your business and make it easier for buyers and sellers to find and trust you.
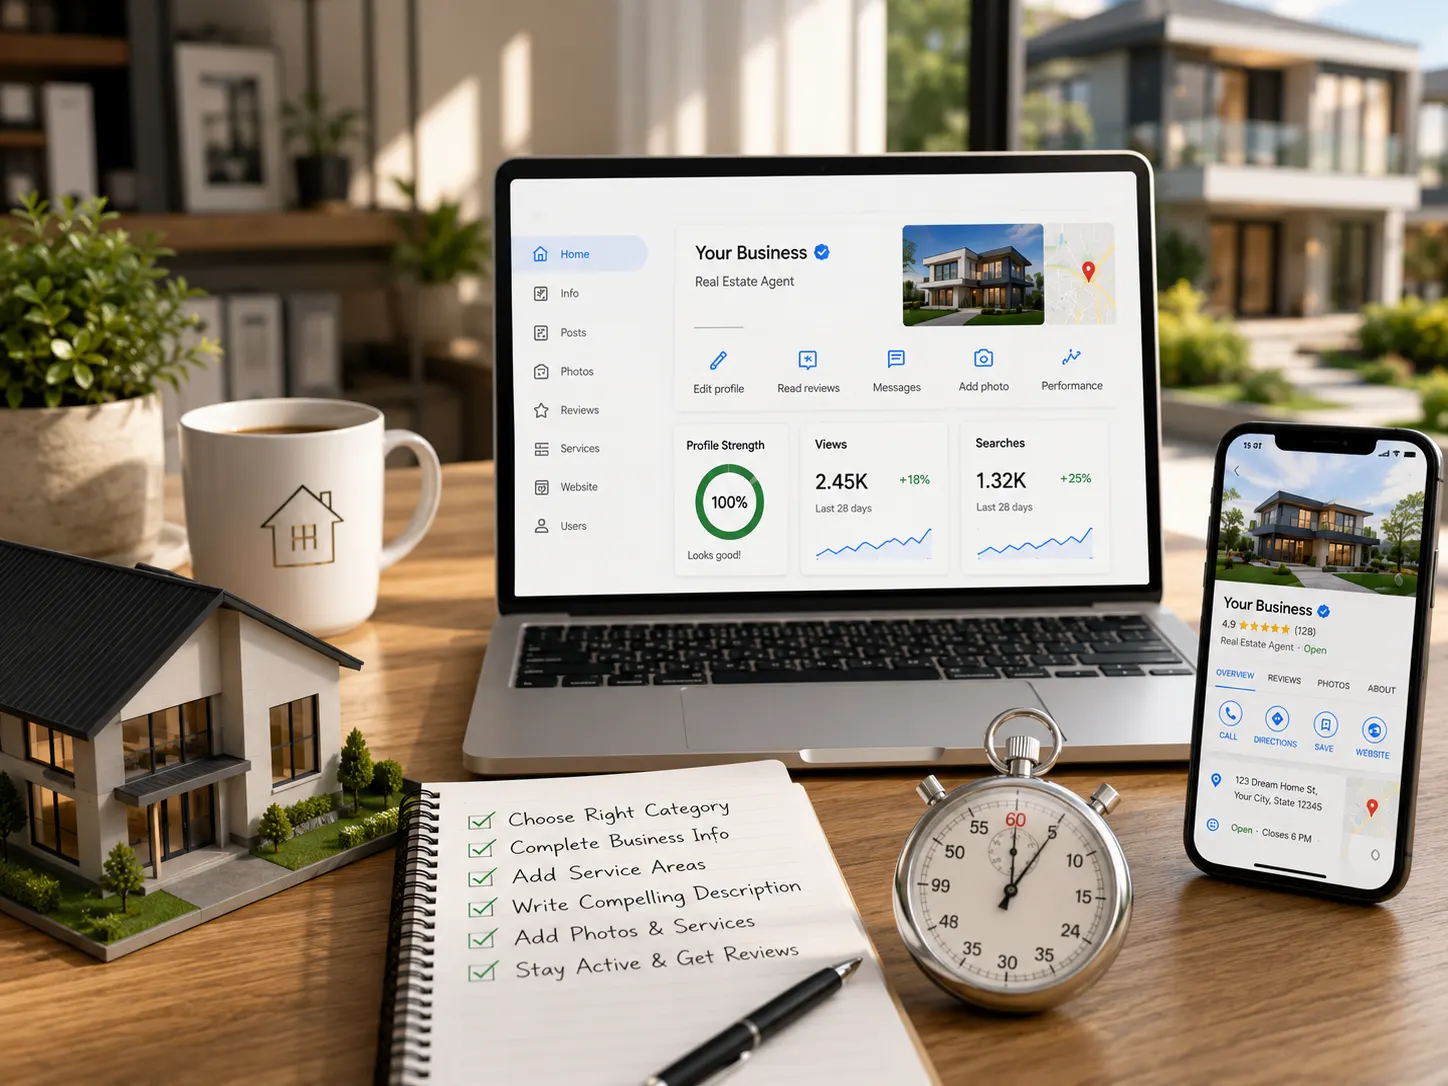
This guide walks you through exactly the 30-minute google business profile set up plan. You’ll also learn which activities should become part of your ongoing marketing routine and optimization tips.
How to Set Up Google Business Profile for Real Estate
Before you begin, gather everything you’ll need, including your business details, website URL, service areas, logo, and a few high-quality photos. Having these ready will help you complete the setup without interruptions.
Here’s how to spend your first 30 minutes setting up your profile.
| Time | What to Do | Why It Matters |
| 0–5 minutes | Choose the correct business category. | Helps Google understand your business and match it with relevant local searches. |
| 5–12 minutes | Complete your business information. | Builds trust and ensures potential clients can easily contact you. |
| 12–17 minutes | Add your service areas. | Increases your visibility for buyers and sellers searching in the locations you serve. |
| 17–25 minutes | Write a customer-focused business description. | Explains your expertise and encourages people to contact you. |
| 25–30 minutes | Add services, business attributes, and your first photos. | Makes your profile more informative, credible, and engaging. |
By the end of these five steps, you’ll have a complete, professional Google Business Profile that gives Google the information it needs to understand your business and helps potential clients understand and trust your services.
The remaining Google business profile optimization activities for realtors such as collecting reviews, publishing Google Posts, and monitoring performance can be done over time as part of your ongoing marketing efforts.
Step 1 (0–5 Minutes): Choose the Right Business Category
Selecting the right business category is one of the most important decisions you’ll make during setup because it tells Google what your business does and which searches your profile should appear in.
If you’re wondering how to set up Google Business Profile for real estate, this is where you should start.
Choose a Primary Category That Matches Your Business
Your primary category should accurately reflect your business model.
- Individual agents should select Real Estate Agent.
- Brokerages should select Real Estate Agency.
This simple choice affects the types of searches your profile can appear in, so avoid selecting categories that don’t accurately describe your business.
Add Relevant Secondary Categories
If you offer additional services, you can include secondary categories where appropriate, such as:
- Real Estate Consultant
- Property Management Company
- Commercial Real Estate Agency
Only add categories that genuinely represent your business. Choosing irrelevant categories won’t improve your visibility and may confuse both Google and potential clients.
Step 2 (5–12 Minutes): Complete Your Business Information
Accurate business information helps both Google and potential clients trust your profile. It also ensures buyers and sellers can contact you without confusion.
Complete every available field, including:
- Business name
- Phone number
- Website
- Business address or service area
- Business hours
- Appointment link (if applicable)
Your business name should match how it appears on your website and other online directories. Avoid adding promotional phrases like “Best Realtor in London” or “Top Real Estate Agent in Sydney.” Google considers this keyword stuffing and may suspend your profile.
Write a Business Description That Builds Trust
Your business description should explain who you help, where you work, and what you specialise in.
Instead of writing:
“Trusted real estate professionals offering exceptional service.”
Write something more specific:
“Helping first-time buyers, growing families, and property investors buy and sell homes across Manchester and the surrounding areas. Specialising in residential sales, relocation services, and investment properties with personalised guidance from search to settlement.”
Aim to include:
- Your service locations.
- Property types or services you specialise in.
- The audience you primarily serve.
- A clear reason clients should choose you.
Write naturally for readers rather than trying to fit in as many keywords as possible.
Why This Matters
Most buyers compare several agents before making contact. A complete profile with accurate information and a clear description makes your business look more credible while giving Google the context it needs to match your profile with relevant searches.
Step 3 (12–17 Minutes): Add the Areas You Serve
Service areas tell Google where you work, helping your profile appear in searches from buyers and sellers across your market, not just near your office.
Many real estate professionals only add the city where they’re based. If you regularly work in nearby suburbs or neighbourhoods, you’re missing an opportunity to reach a wider audience.
For example, instead of listing only Manchester, you could include:
- Salford
- Didsbury
- Stockport
- Altrincham
- Sale
Similarly, an agent in Dubai might add:
- Palm Jumeirah
- Dubai Marina
- Business Bay
- Downtown Dubai
- Arabian Ranches
Only include locations where you actively provide services. Adding areas you don’t genuinely serve won’t improve your rankings and may lead to enquiries outside your coverage area.
Why This Matters
Many property searches are location-specific. Listing your service areas helps Google understand the geographic markets you serve, making your profile more relevant for local buyers and sellers searching in those areas.
Expert Tip: For each location you serve, create dedicated pages for each location on your website and link your Google Business Profile to your site. This provides stronger location signals and a better experience for potential clients.
Step 4 (17–25 Minutes): Add Your Services, Business Attributes, and Photos
This is where your profile becomes more than a business listing. Detailed services, helpful business information, and professional photos give potential clients confidence before they ever contact you.
Add Your Services
Instead of using a generic service like “Real Estate Services,” list the services clients actually search for.
Examples include:
- Buyer representation
- Seller representation
- First-time home buyer assistance
- Luxury property sales
- Commercial real estate
- Investment property consulting
- Property management
- Relocation services
Only add services you genuinely provide.
Complete Business Attributes
Business attributes help clients understand how you work and may improve your visibility for more specific searches.
Depending on your business, you may be able to add attributes such as:
- Online appointments
- Virtual consultations
- Languages spoken
- Accessibility features
Although these details are optional, completing them creates a more informative profile.
Upload Your First High-Quality Photos
Visuals often influence whether someone contacts you, especially in real estate.
Start by uploading:
- A professional headshot
- Your company logo
- Office photos
- Team photos
- Recently listed or sold properties
- Local neighbourhood landmarks
Choose authentic, high-resolution images instead of stock photography. Real photos help clients connect with your business and showcase your local expertise.
Why This Matters
A complete profile with professional photos and detailed services creates a stronger first impression than one with only basic business information. It also gives potential clients a better understanding of your expertise before they visit your website or schedule a consultation.
Expert Tip: Don’t wait until you have dozens of photos. Upload your best images during setup, then add new listing photos, neighbourhood highlights, and team updates regularly to keep your profile fresh.
What Is the Best Google Reviews Strategy for Real Estate Agents?

Once your profile is live, your next priority is earning Google reviews consistently. Reviews build trust with potential clients and show Google that your business is active and delivering positive customer experiences.
Many buyers and sellers compare multiple real estate professionals before reaching out. Along with your profile information and photos, reviews often influence who they decide to contact.
- Ask for Reviews at the Right Time
The timing of your request can make a significant difference. Ask for a review after positive milestones, such as:
- Closing a property sale
- Helping a buyer move into their new home
- Completing a successful rental transaction
- Receiving positive feedback from a client
These moments are when clients are most likely to leave thoughtful, detailed feedback.
- Make It Easy to Leave a Review
Don’t ask clients to search for your business on Google. Instead, send them:
- A direct Google review link
- A personalised thank-you message
- A short note explaining how their review helps future buyers and sellers choose the right agent
The fewer steps involved, the more likely clients are to complete the review.
- Encourage Reviews That Tell a Story
Detailed reviews are more helpful than generic compliments because they explain what it was like to work with you. For example:
❌ Less Helpful
“Great service. Highly recommend.”
✅ More Helpful
“Emma helped us sell our home in Bristol within four weeks. She kept us updated throughout the process, handled negotiations professionally, and made what could have been a stressful experience feel straightforward.”
Reviews like these provide useful context for prospective clients while naturally reinforcing your expertise in specific locations or property types.
- Respond to Every Review
Respond to every positive or negative review, as it shows that you value client feedback.
For positive reviews:
- Thank the client.
- Personalise your response instead of copying the same message.
- Reinforce the relationship by mentioning something specific about their experience.
For negative reviews:
- Respond calmly and professionally.
- Acknowledge the concern without becoming defensive.
- Offer to discuss the concern privately where appropriate.
A thoughtful response demonstrates professionalism to everyone who views your profile—not just the person who left the review.
Why This Matters
Google looks beyond the total number of reviews. It also considers how recent they are and whether you actively engage with customer feedback. A consistent stream of genuine reviews over time is generally more valuable than receiving many reviews at once and then becoming inactive.
Expert Tip: Include your Google review link in your post-sale or post-completion email. Making review requests part of your standard client journey creates a sustainable process instead of relying on occasional reminders.
How to Keep Your Real Estate Google Business Profile Active With Posts
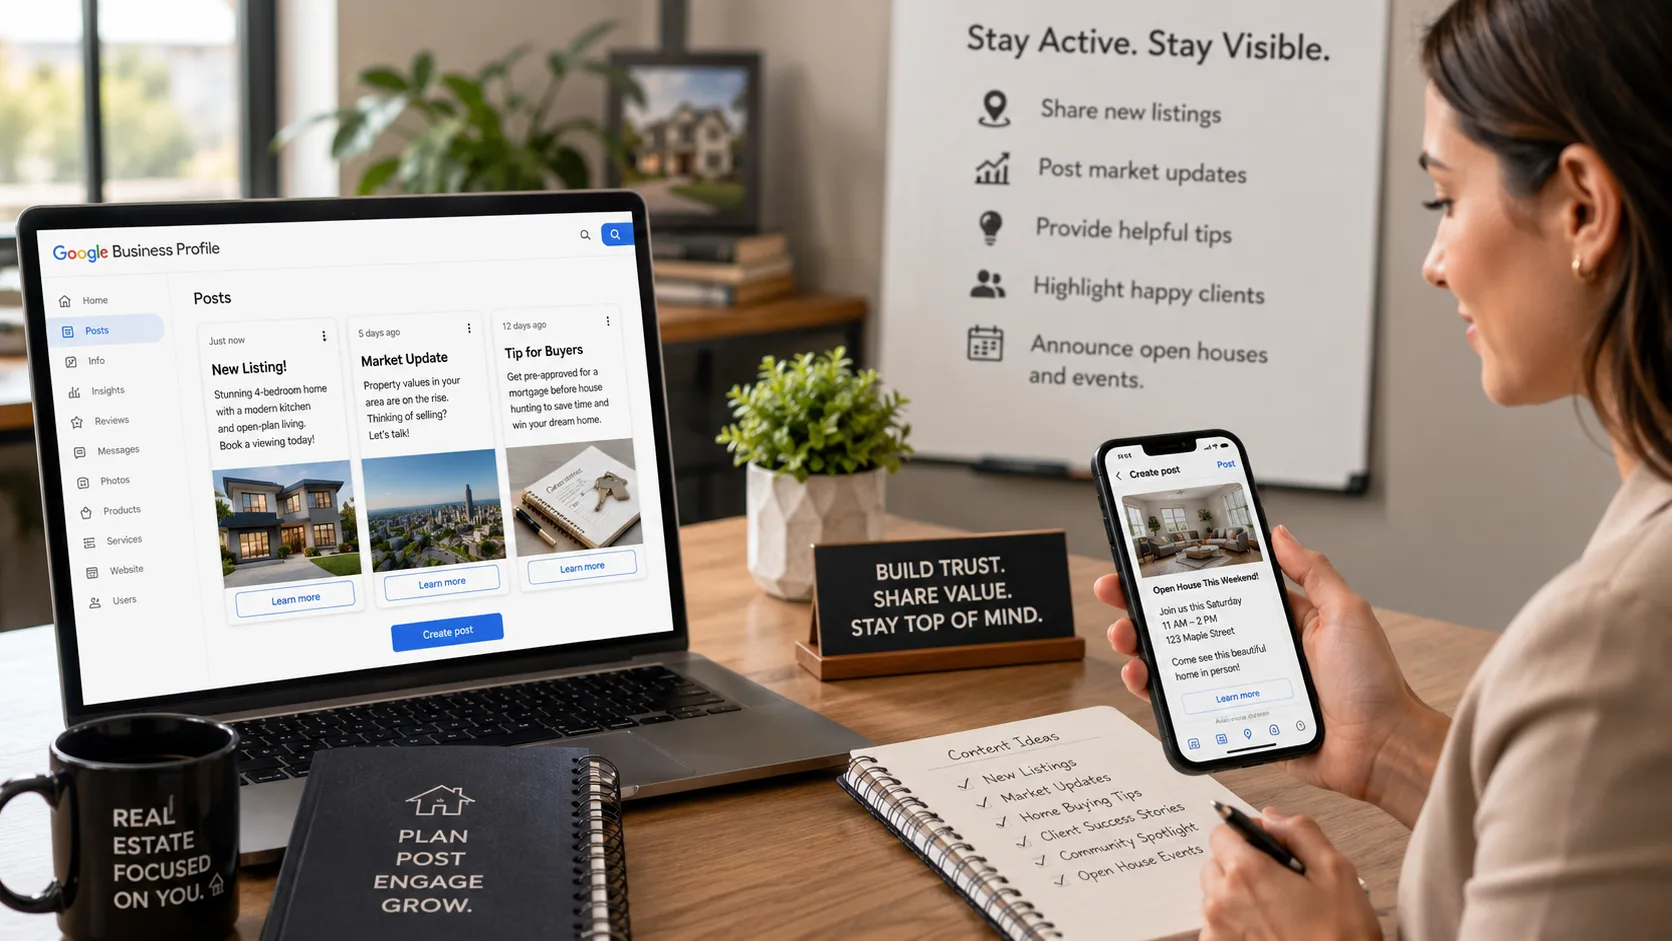
Completing your profile is the first step. Keeping it active is what helps maintain visibility over time. One of the easiest ways to do that is by publishing regular Google Business Profile posts for real estate.
Think of these posts as short updates that showcase your expertise, recent activity, and local market knowledge. They give potential clients fresh reasons to engage with your business and reassure Google that your profile is actively maintained.
What Should Real Estate Agents Post?
A common mistake is only posting new property listings. While listings are important, a varied content mix keeps your profile more engaging.
Here’s what you can post:
| Post Type | Why It Works |
| New property listings | Highlights current inventory for active buyers. |
| Recently sold properties | Demonstrates successful transactions and builds credibility. |
| Open house announcements | Encourages immediate enquiries and property visits. |
| Local market updates | Positions you as a trusted local expert. |
| Home buying or selling tips | Provides value beyond property listings. |
| Community events or neighbourhood highlights | Reinforces your knowledge of the local area. |
Write Every Post with a Clear Goal
Every update should encourage readers to take the next step.
For example:
- Book a property viewing.
- Request a free home valuation.
- Contact us to discuss your property goals.
- Learn more on our website.
A simple call to action turns profile views into potential enquiries.
How Often Should You Post?
Aim to publish at least one post each week. Consistency is more important than frequency. One helpful update every week is far more effective than posting daily for a month and then stopping altogether.
Why This Matters
When potential clients compare several real estate professionals, an active profile often creates a stronger impression than one that hasn’t been updated for months. Regular posts demonstrate that you’re engaged with your market and actively helping buyers and sellers.
Expert Tip: Repurpose content you’re already creating. Your latest listing, monthly market update, or neighbourhood spotlight can easily become a Google Business Profile post, saving you time while keeping your profile active.
How to Maintain Google Business Profile
The first 30 minutes help you build a complete profile. Spending just 15–20 minutes each month maintaining it helps you protect that investment and identify new opportunities to improve your visibility.
Google Business Profile includes built-in Insights that show how people discover and interact with your business.
Focus on these metrics:
| Metric | What It Tells You |
| Search views | How often your profile appears in Google Search. |
| Maps views | How often people find you through Google Maps. |
| Website clicks | How many users visit your website from your profile. |
| Calls | The number of enquiries generated directly from your profile. |
| Direction requests | How many people intend to visit your office. |
| Photo views | Whether your images are attracting attention. |
Instead of checking these numbers once, compare them month over month. If you notice website clicks increasing after publishing regular market updates or adding new property photos, it’s a good indication those activities are resonating with your audience.
Alongside reviewing Insights, use this monthly check-in to:
- Update business hours if needed.
- Remove outdated property photos.
- Add recent listings or sold properties.
- Check that your contact information is still accurate.
- Respond to any new reviews.
Small, regular updates are much easier than trying to overhaul your profile once or twice a year.
What Are Common Google Business Profile Mistakes to Avoid
Many real estate profiles underperform not because they’re missing one major optimization, but because small issues accumulate over time. Avoiding these common mistakes helps maintain your visibility and ensures potential clients always see accurate information.
- Incomplete profiles. Leaving services, attributes, or photos blank costs visibility for no reason.
- Wrong category selection. This alone can keep you out of relevant searches entirely.
- Ignoring reviews. Both the ones you never ask for and the ones you never respond to.
- Outdated information. Old hours, an old phone number, or missing service areas erode trust.
- Keyword stuffing. Cramming keywords into your business name or description can get your profile suspended.
- Low-quality images. Blurry photos or stock images do more harm than having fewer, better ones.
Google Business Profile Optimization Checklist for Realtors
- Correct primary category selected (Real Estate Agent or Real Estate Agency)
- Business name matches your real name or brokerage exactly
- All service areas listed, not just your home base
- Detailed services added with real estate-specific language
- Business description written with specific neighborhoods and specialties
- At least 10 recent, high-quality photos uploaded
- Business attributes filled in
- A review request process in place for every closed deal
- Every review responded to within a few days
- At least one post published per week
- NAP consistent across GBP, website, and all directories
Conclusion
You don’t need an entire day to optimize your Google Business Profile. In 30 minutes, you can complete the essential setup tasks that help Google understand what you do and offer to the potential clients that ultimately build trust in your services.
From there, success comes down to consistency. Make it a habit to request reviews, publish helpful updates, add fresh photos, and review your profile’s performance each month. These ongoing efforts help keep your profile visible, build trust with local buyers and sellers, and turn more Google searches into genuine enquiries.
A well-maintained Google Business Profile isn’t just an online listing, it’s one of the most valuable local marketing assets your real estate business can have.
FAQs
How often should I update my Google Business Profile?
Update it whenever something changes, such as service areas, hours, or contact details. Beyond that, plan on adding at least one photo or post weekly to keep the profile active.
Can individual real estate agents have their own GBP?
Yes. Individual agents should set up their own profile using the “Real Estate Agent” category rather than relying solely on their brokerage’s listing.
How long does GBP optimization take to show results?
Most agents see early movement in local search visibility within four to eight weeks, though ranking in the map pack for competitive searches can take longer depending on how established competitors are.
Does posting regularly improve rankings?
Posting alone will not move rankings significantly, but it keeps your google business profile active and gives potential clients more reasons to engage, which supports the other optimizations.
Do I need reviews from every single client?
No, but consistency matters more than getting every client to respond. A steady flow of a few reviews each month beats an inconsistent push for total volume.